


Adding Azure Feature Flags to Your ASP.NET Razor Pages Application
Imagine this common developer scenario. You’re developing a new feature and using sprints. You cannot finish everything in a given sprint or your feature needs production testing before you feel comfortable with it. Feature flags help to solve this problem. For years, developers had to build their own structure to solve this. I’ve been involved with at least three separate projects where a SQL table was created that held the feature and a value was assigned to enable/disable a feature. If you use Azure, there’s a better way.
For purposes of this article, I am using .NET Core 5 Preview 4. However, if you'd prefer to use a released version of the framework, you can use .NET Core 3.1 as well.
Feature Management Benefits
There are many benefits to using feature flags, also known as feature management, in Azure.
- Deploying All of Your Code - If you are following a continuous integration or sprint process, you may run into cases where your code is not ready for production at the time a deployment is needed. Using feature management, you can deploy all of your code (as long as it builds) and hide the new feature(s) from production users.
- Eliminating Feature Branches - On the heals of the above point, you’ll no longer need to maintain feature branches. Rather, all of the code can live within the same branch.
- Test in Production - Using feature management, you have control over who your feature is rolled out to. So, you can enable the feature only for beta users or internal users if you so choose.
- Beta Testing - You may need to slowly roll a new feature out to a group. This is often called flighting. By using feature flags, you can target a percentage of users that will receive the new feature and slowly increase this over time.
- Instant “Rollback - How many times have you thought the feature was ready, rolled it out to mass chaos, and struggled to easily rollback? Using feature management provides a way to instantly turn off a feature so you don’t have to worry about rolling back. Rather, you could roll forward.
Setting Up Feature Management
The first step to using feature management is to setup the feature management service by including it in your application. In my case, I’ve created a new .NET Core 5 Razor Pages application that I’ll be adding feature management to. You can grab a copy of this project by clicking the following:
In the Summary below, you’ll find a link to the completed source code.
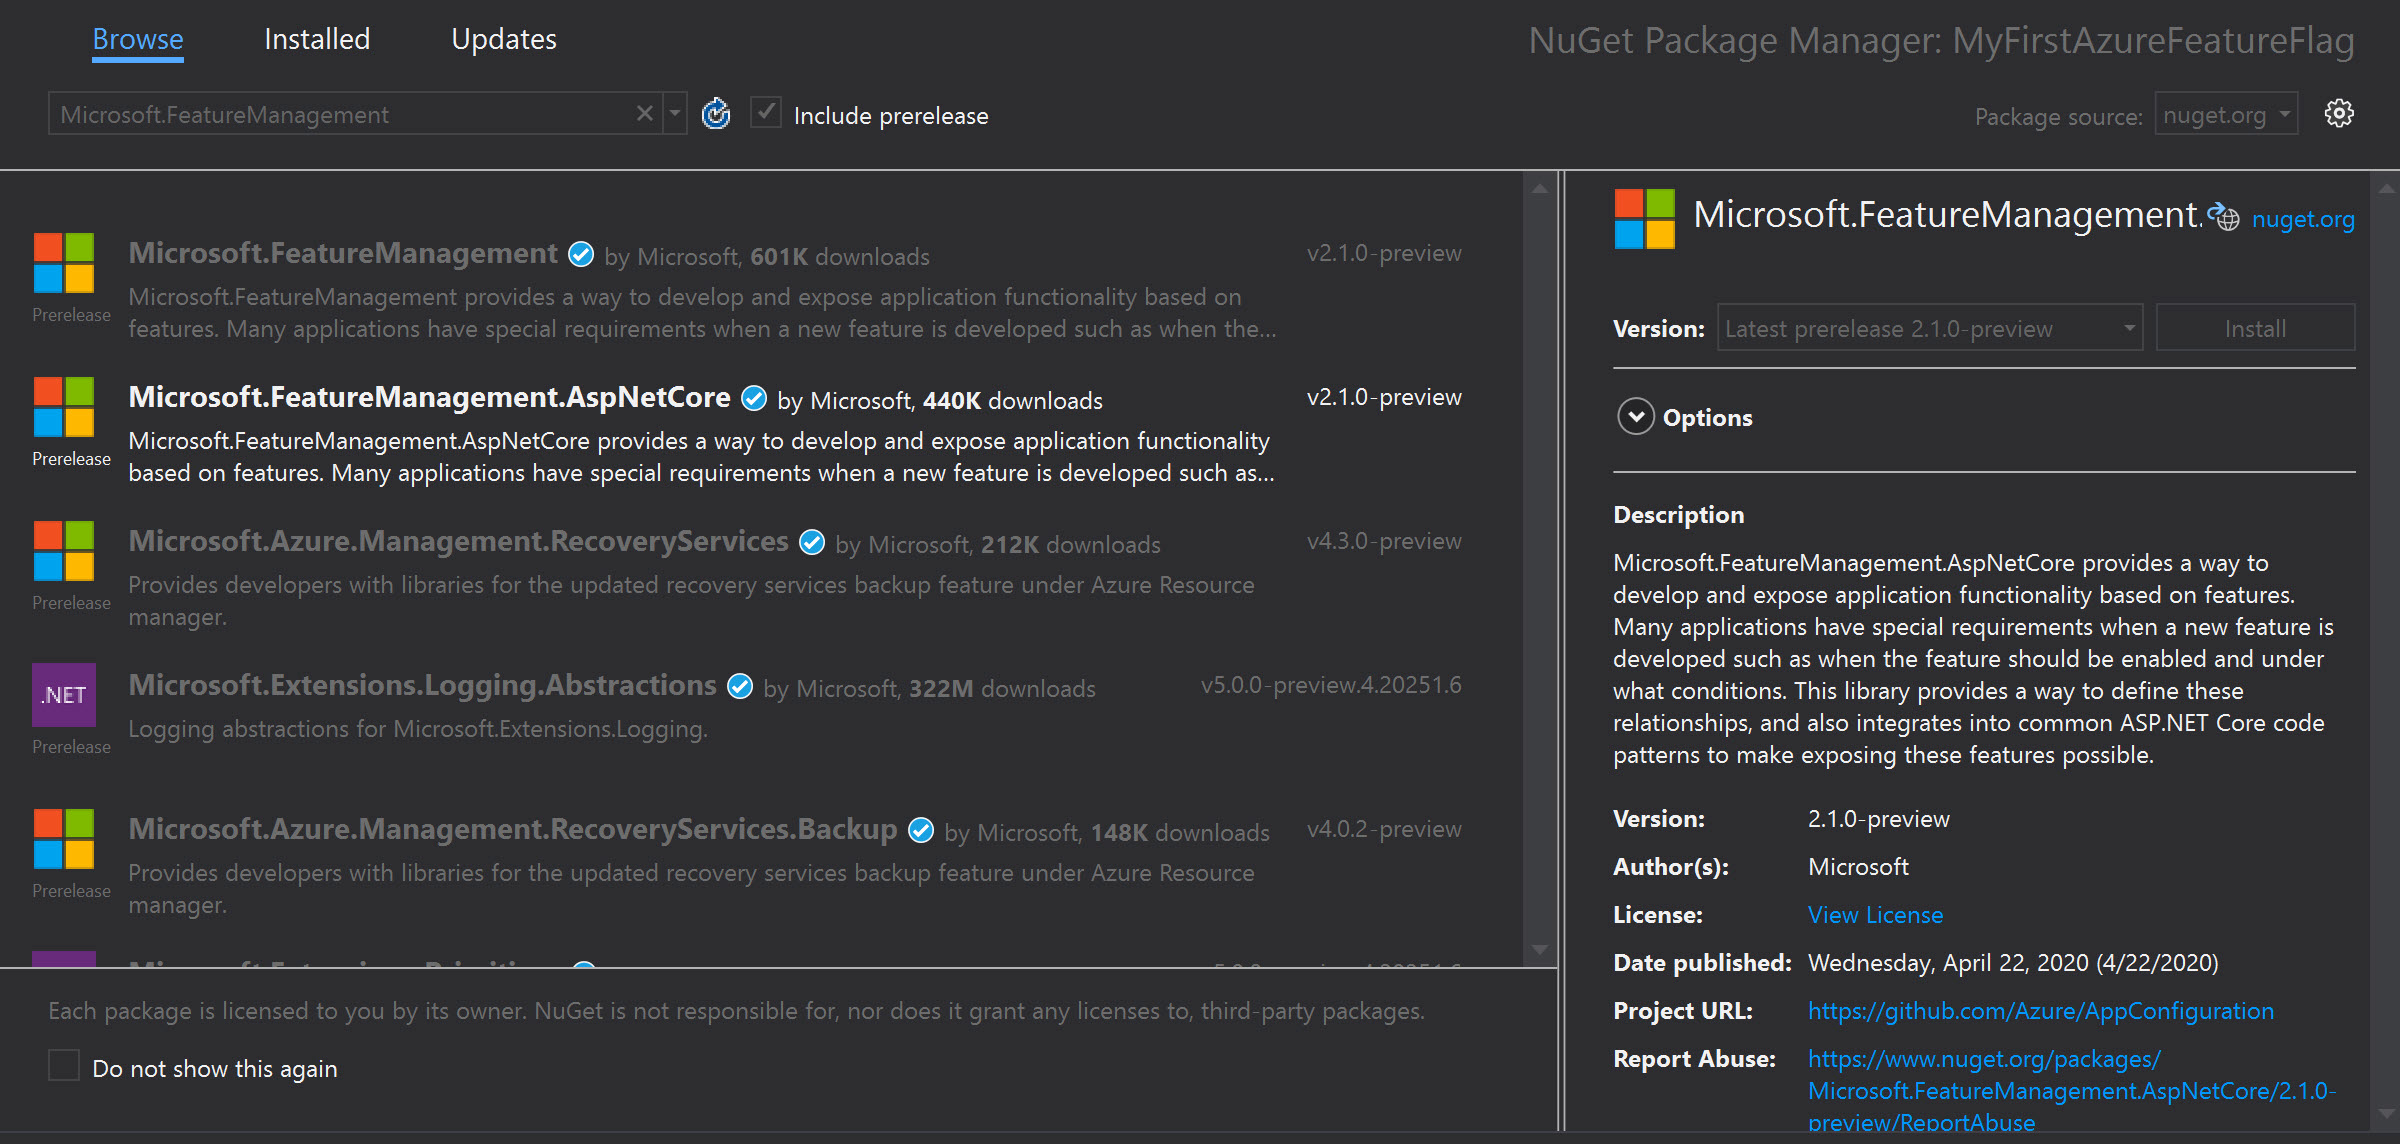
The first step for us to enable feature management is to add a reference to the Microsoft.FeatureManagement.AspNetCore NuGet package.
Next, we’re going to inject the feature management feature into the services that are loaded on application startup. So, in your Startup.cs file, find the ConfigureServices method. Update the code to include feature management like the example below:
1
2
3
4
5
public void ConfigureServices(IServiceCollection services)
{
    services.AddFeatureManagement();
    services.AddRazorPages();
}
By default, feature management will look for settings inside your appsettings.json file under the FeatureManagement section. This may be helpful as your testing features locally before ever deploying your application to Azure. However, you’d likely not want to be dependent on your appsettings.json file as you’d likely want to manage the settings separately. We’ll cover that next.
Adding the Azure App Configuration Resource
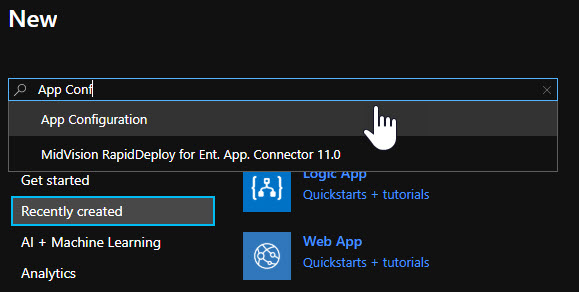
Before we can configure our application to use the App Configuration, we need to first establish a resource. We’ll do this in the Azure Portal by searching for App Config.
There are currently two tiers for this resource: a free tier and a standard tier. You can find out more about pricing at https://jasong.us/2MqqWrl. Once you choose your tier, create your resource. After your resource is created, navigate to your resource. Go the the Access Keys menu option under Settings and click on the Read-only keys option. This will allow us to obtain the connection string so our app can read the configuration settings.
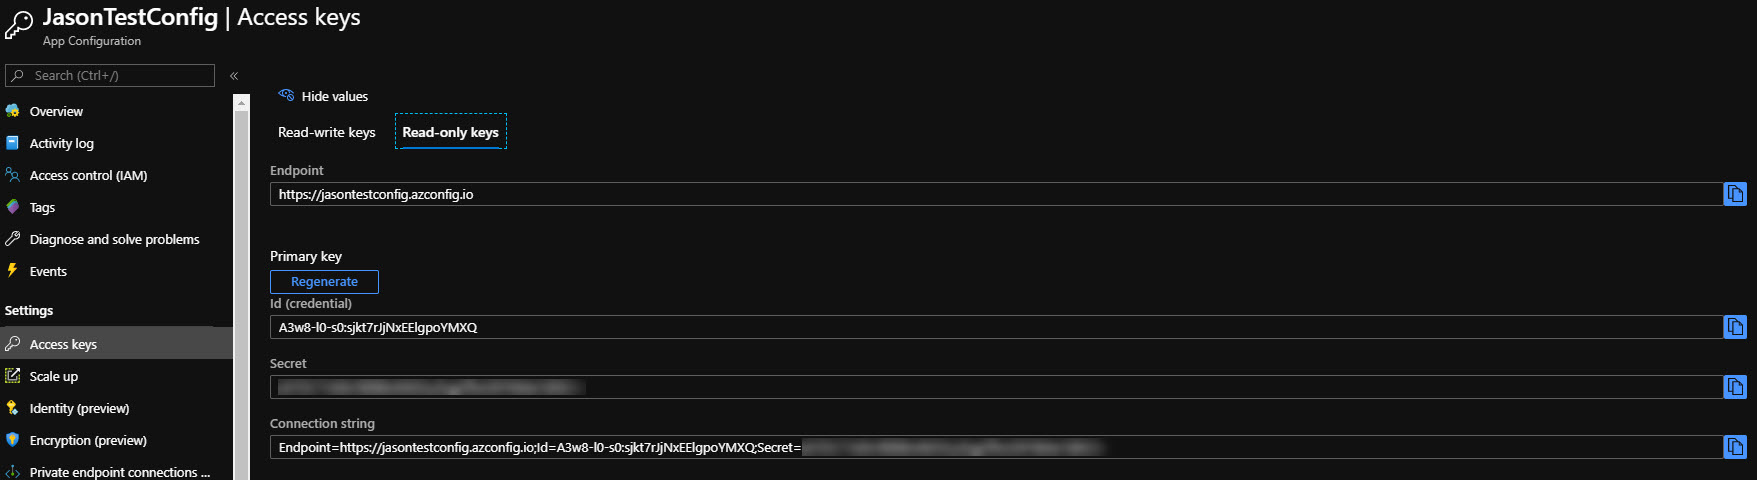
Copy the connection string as we’ll need this in a bit when we update our application.
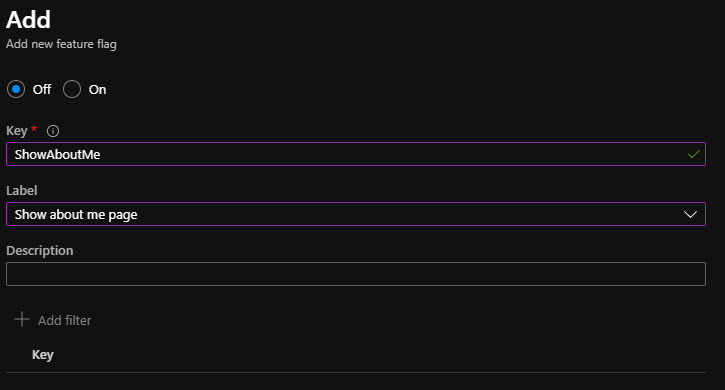
Next, go down to the Feature manager menu option under Operations. Click on the Add button in the pane. Add a new feature called ShowAboutMe. We’ll use this feature in our sample app to navigate to our About Me page.
Now that we have our first feature added, let’s continue with implementing the feature flags inside of our application. Don’t close out of the Azure portal as we’ll revisit this.
Using Azure AppConfiguration to Manage Feature Flags
We’ll now use the connection string we copied in the previous steps. Navigate to your application’s appsettings.json file. Add a new key called AppConfigConnectionString and set the value to the value you have copied. Your appsettings should now look like similar to the following though you’ll want to be certain that your connection string to the app configuration is used:
1
2
3
4
5
6
7
8
9
10
11
{
    "AppConfigConnectionString": "Endpoint=https://jasontestconfig.azconfig.io;Id=A3w8-l0-s0:sjkt7rJjNxEElgpoYMXQ;Secret=",
    "Logging": {
        "LogLevel": {
            "Default": "Information",
            "Microsoft": "Warning",
            "Microsoft.Hosting.Lifetime": "Information"
        }
    },
    "AllowedHosts": "*"
}
Currently, when the program Main method is executed, a default host builder is created that uses defaults like so:
1
2
3
4
5
6
public static IHostBuilder CreateHostBuilder(string[] args) =>
    Host.CreateDefaultBuilder(args)
        .ConfigureWebHostDefaults(webBuilder =>
        {
            webBuilder.UseStartup<Startup>();
        });
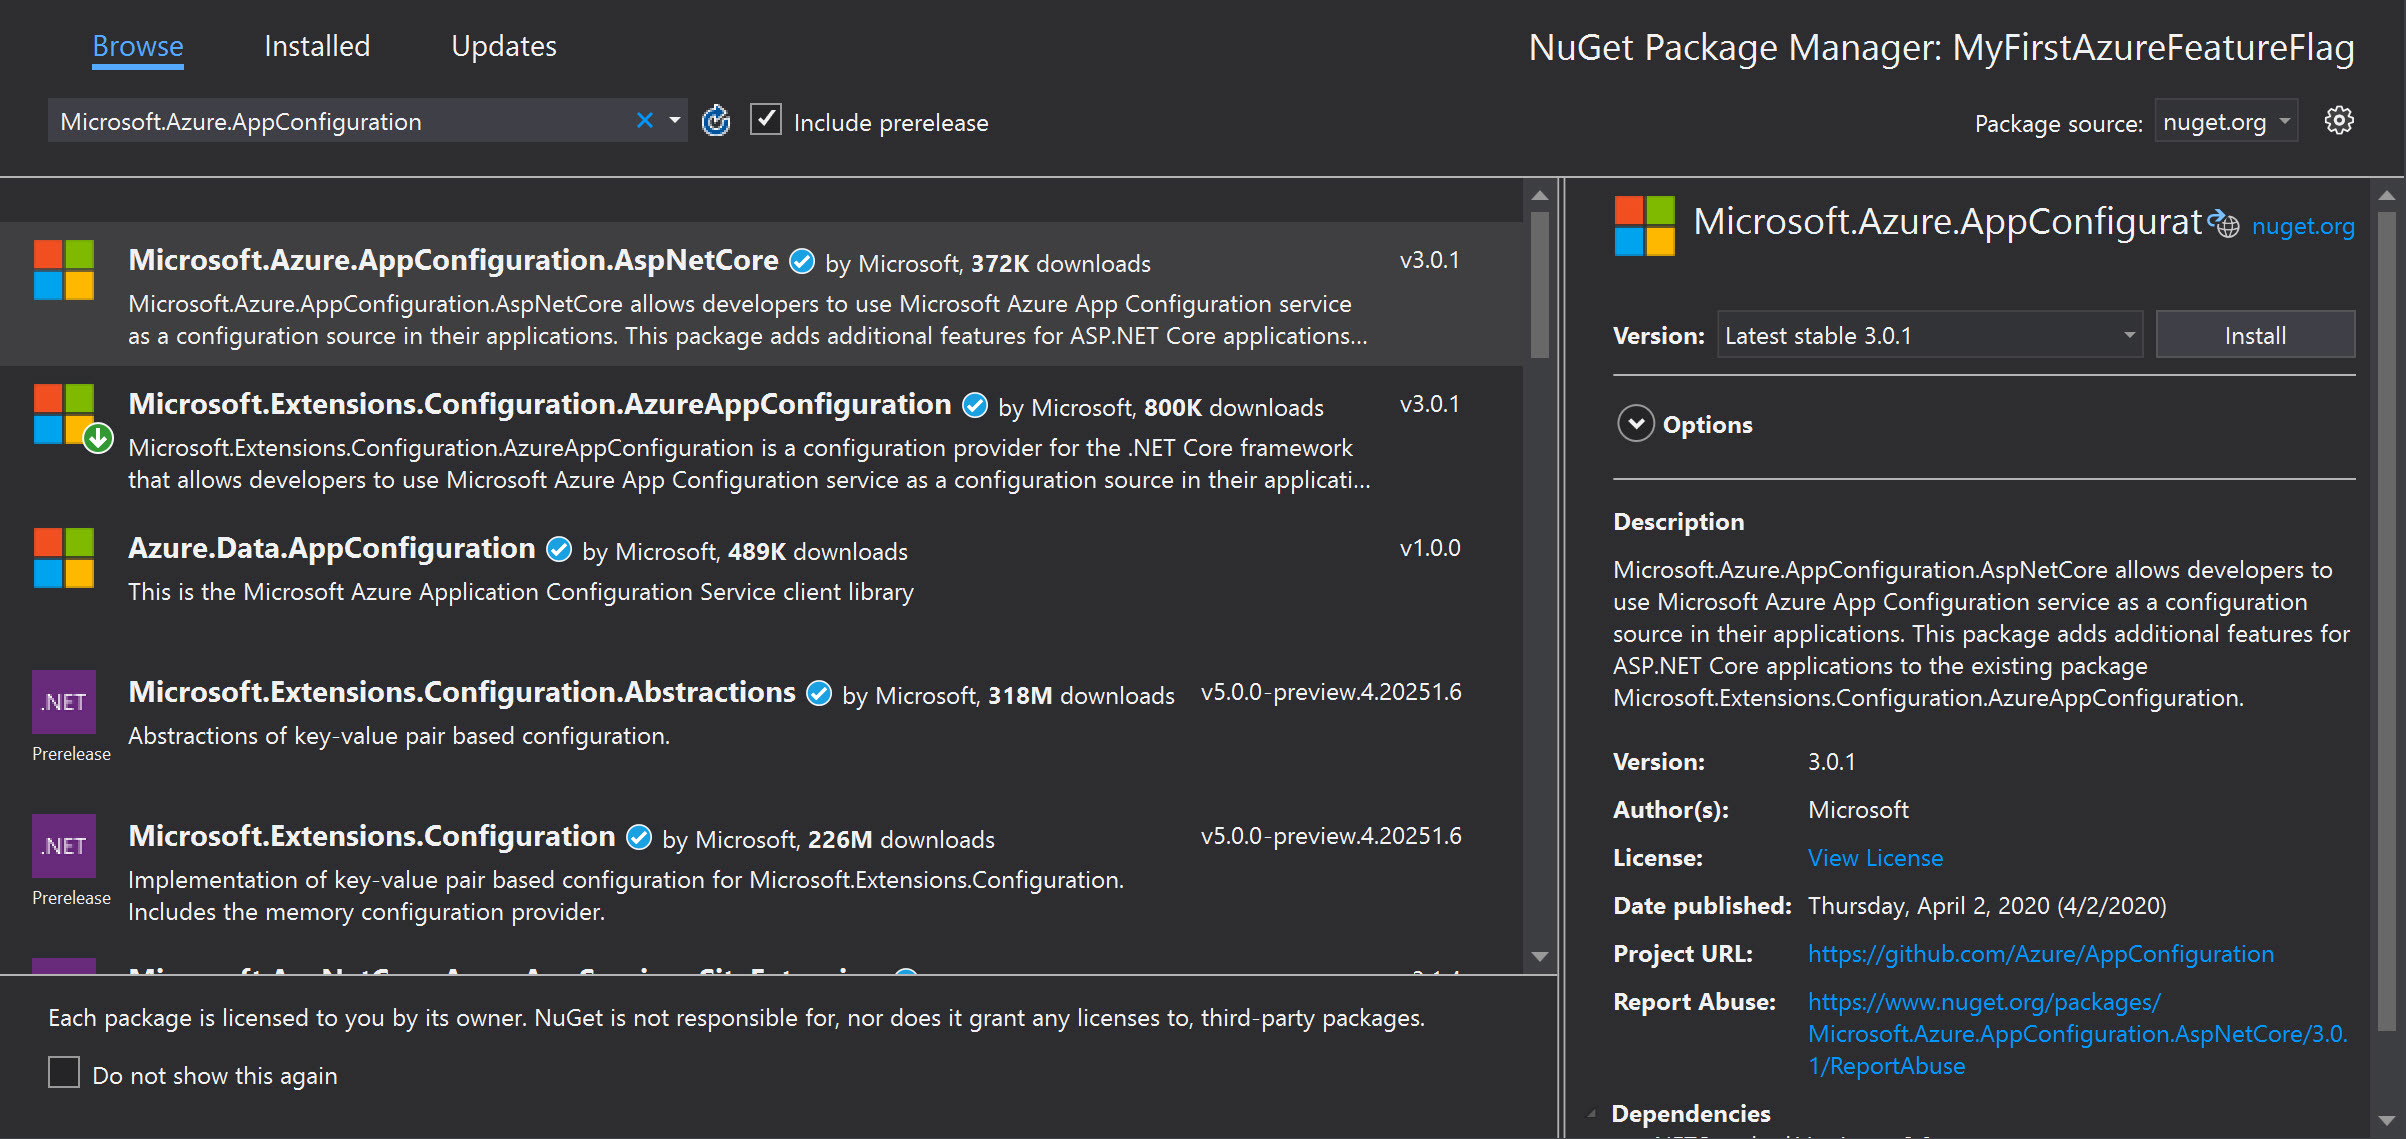
We’ll want to update our host builder to use the Microsoft.Azure.AppConfiguration.AspNetCore configuration provider. We don’t have this provider yet, so we have to head back to NuGet and obtain this provider.
Now that this package is installed, we can come back to Program.cs and update our CreateHostBuilder method like so:
1
2
3
4
5
6
7
8
9
10
11
12
13
14
15
16
17
18
public static IHostBuilder CreateHostBuilder(string[] args) =>
    Host.CreateDefaultBuilder(args)
        .ConfigureAppConfiguration((context, builder) =>
        {
            var settings = builder.Build();

            if (!string.IsNullOrEmpty(settings["AppConfigConnectionString"]))
            {
                builder.AddAzureAppConfiguration(options => {
                    options.Connect(settings["AppConfigConnectionString"]);
                    options.UseFeatureFlags();
                });
            }
        })
        .ConfigureWebHostDefaults(webBuilder =>
        {
            webBuilder.UseStartup<Startup>();
        });
Don’t forget to resolve your dependency on the configuration provider by adding using Microsoft.Extensions.Configuration.AzureAppConfiguration; to the top of Program.cs.
Next, we’ll come back to our Startup.cs file and update the Configure method like so:
1
2
3
4
5
6
public void Configure(IApplicationBuilder app, IWebHostEnvironment env)
{
    ...
    app.UseAzureAppConfiguration();
    ...
}
The final step to integrating Azure App Configuration with our .NET Core application is to determine where we plan on using the functionality. If we are using ASP.NET MVC, we can use the <feature></feature> semantic element to handle features within mark-up. We can also use [FeatureGate] attributes on actions within our controller. More of these options are explained on the Microsoft Docs site at https://jasong.us/30ggWsP.
Since I’m using Razor Pages, I’ll jump right into the Layout at Pages\Shared\_Layout.cshtml file. In this case, if the About Me feature (ShowAboutMe) is on, I want the menu link to appear. I could do more by creating the page and adding functionality to redirect to the 404 page if the feature was disabled. But for now, I’ll simply hide/show the feature. I’ll take advantage of the .NET Dependency Injection by injecting the IFeatureManager on the page by adding the following directive to the top:
1
@inject Microsoft.FeatureManagement.IFeatureManager featureManager
I’ll then add a new menu area and wrap the area in an if block. I’ll use the IsEnabledAsync(string) method the check for the ShowAboutMe feature:
1
2
3
4
5
6
@if (await featureManager.IsEnabledAsync("ShowAboutMe"))
{
<li class="nav-item">
    <a class="nav-link text-dark" asp-area="" asp-page="/About">About Me</a>
</li>
}
Since my feature is enabled, if I visit the page, I should now see the About Me link at the top like so:

If I disable my feature and wait approximately 30 seconds (feature management caches the feature values for 30 seconds by default), I won’t see the About Me link:

Summary
In summary, we created a basic Azure App Configuration feature and used that feature within a .NET Core 5 Razor Pages application. If you’re interested in seeing the finished product, be sure to grab the completed source from the following GitHub branch:
If you are interested in client side use of the Azure App Configuration resource and Feature Flags, be sure to check out my post at jasong.us/2O0SK6B.